


This article will show you how to use custom CSS to create a right-to-left (RTL) layout for the Item List element in GemPages.
By default, the Item List layout displays the icon on the left and the text on the right. With a simple CSS adjustment, you can reverse the layout so the icon appears on the right side and the text aligns to the right.
This is especially useful for:
- RTL language designs
- Alternative list layouts
- Modern UI styling
- Creating visually unique feature lists
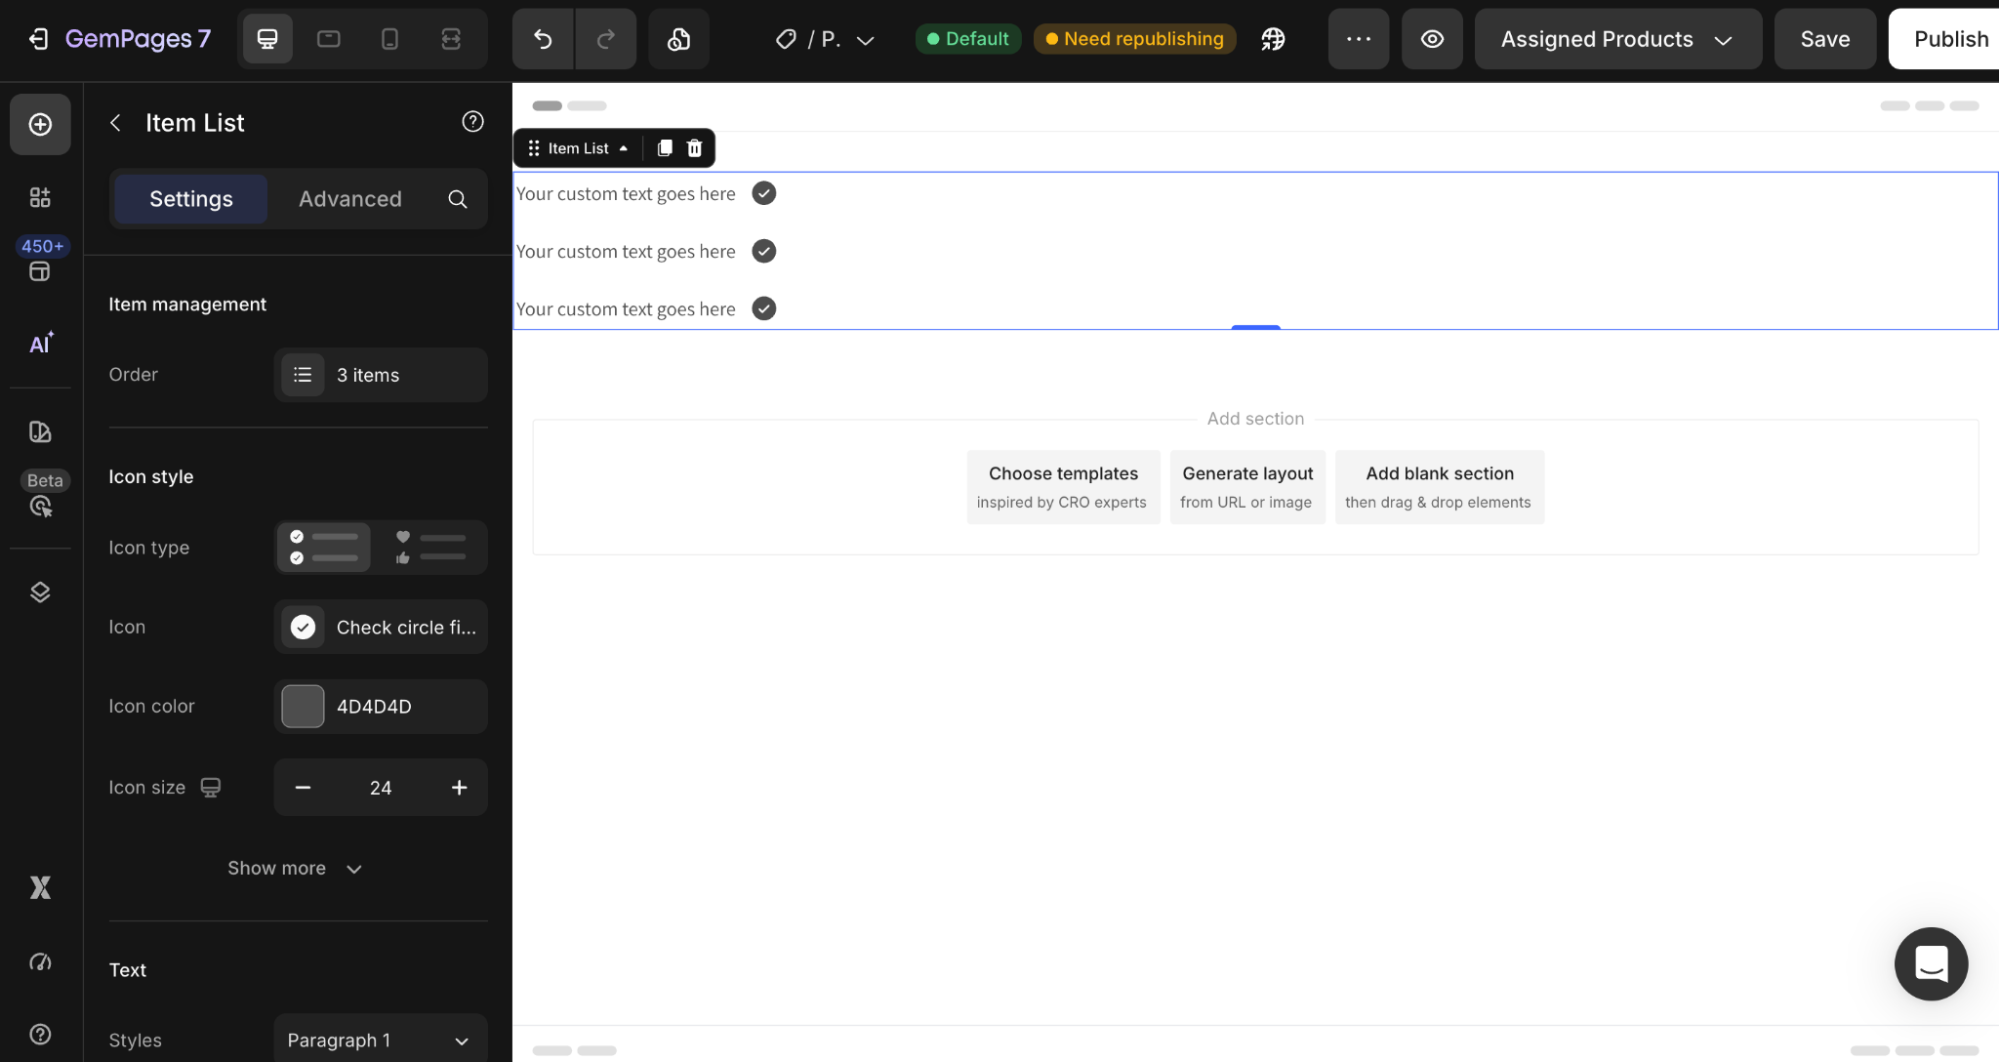
Step 1: Open the Item List Settings
In the GemPages editor:
- Hover over the Item List element you want to customize
- Right-click the element
- Select Custom Code

This allows you to apply custom CSS specifically to that Item List element.
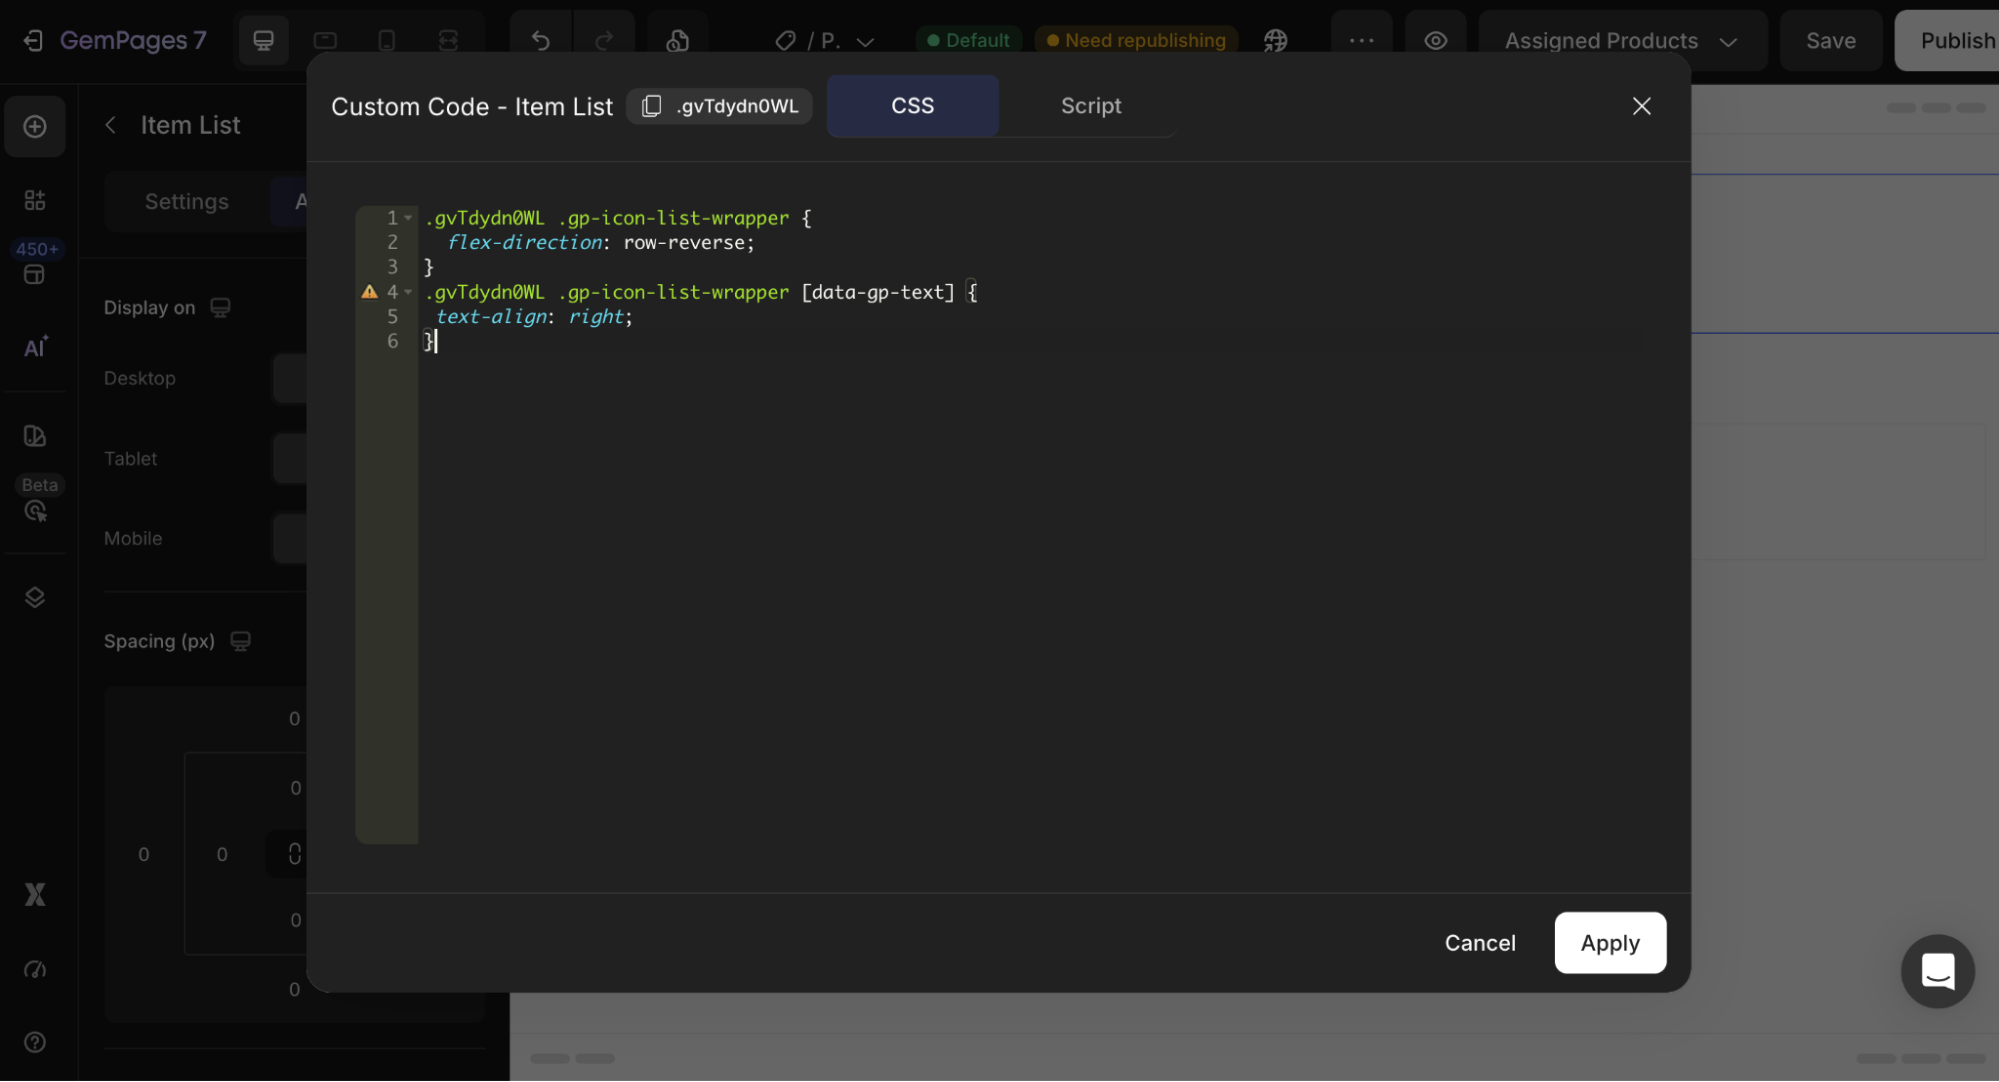
Step 2: Add the RTL Layout Code
Paste the following code into the custom code section:
.ElementClass .gp-icon-list-wrapper {

  flex-direction: row-reverse;

}

.ElementClass .gp-icon-list-wrapper [data-gp-text] {

 text-align: right;

}
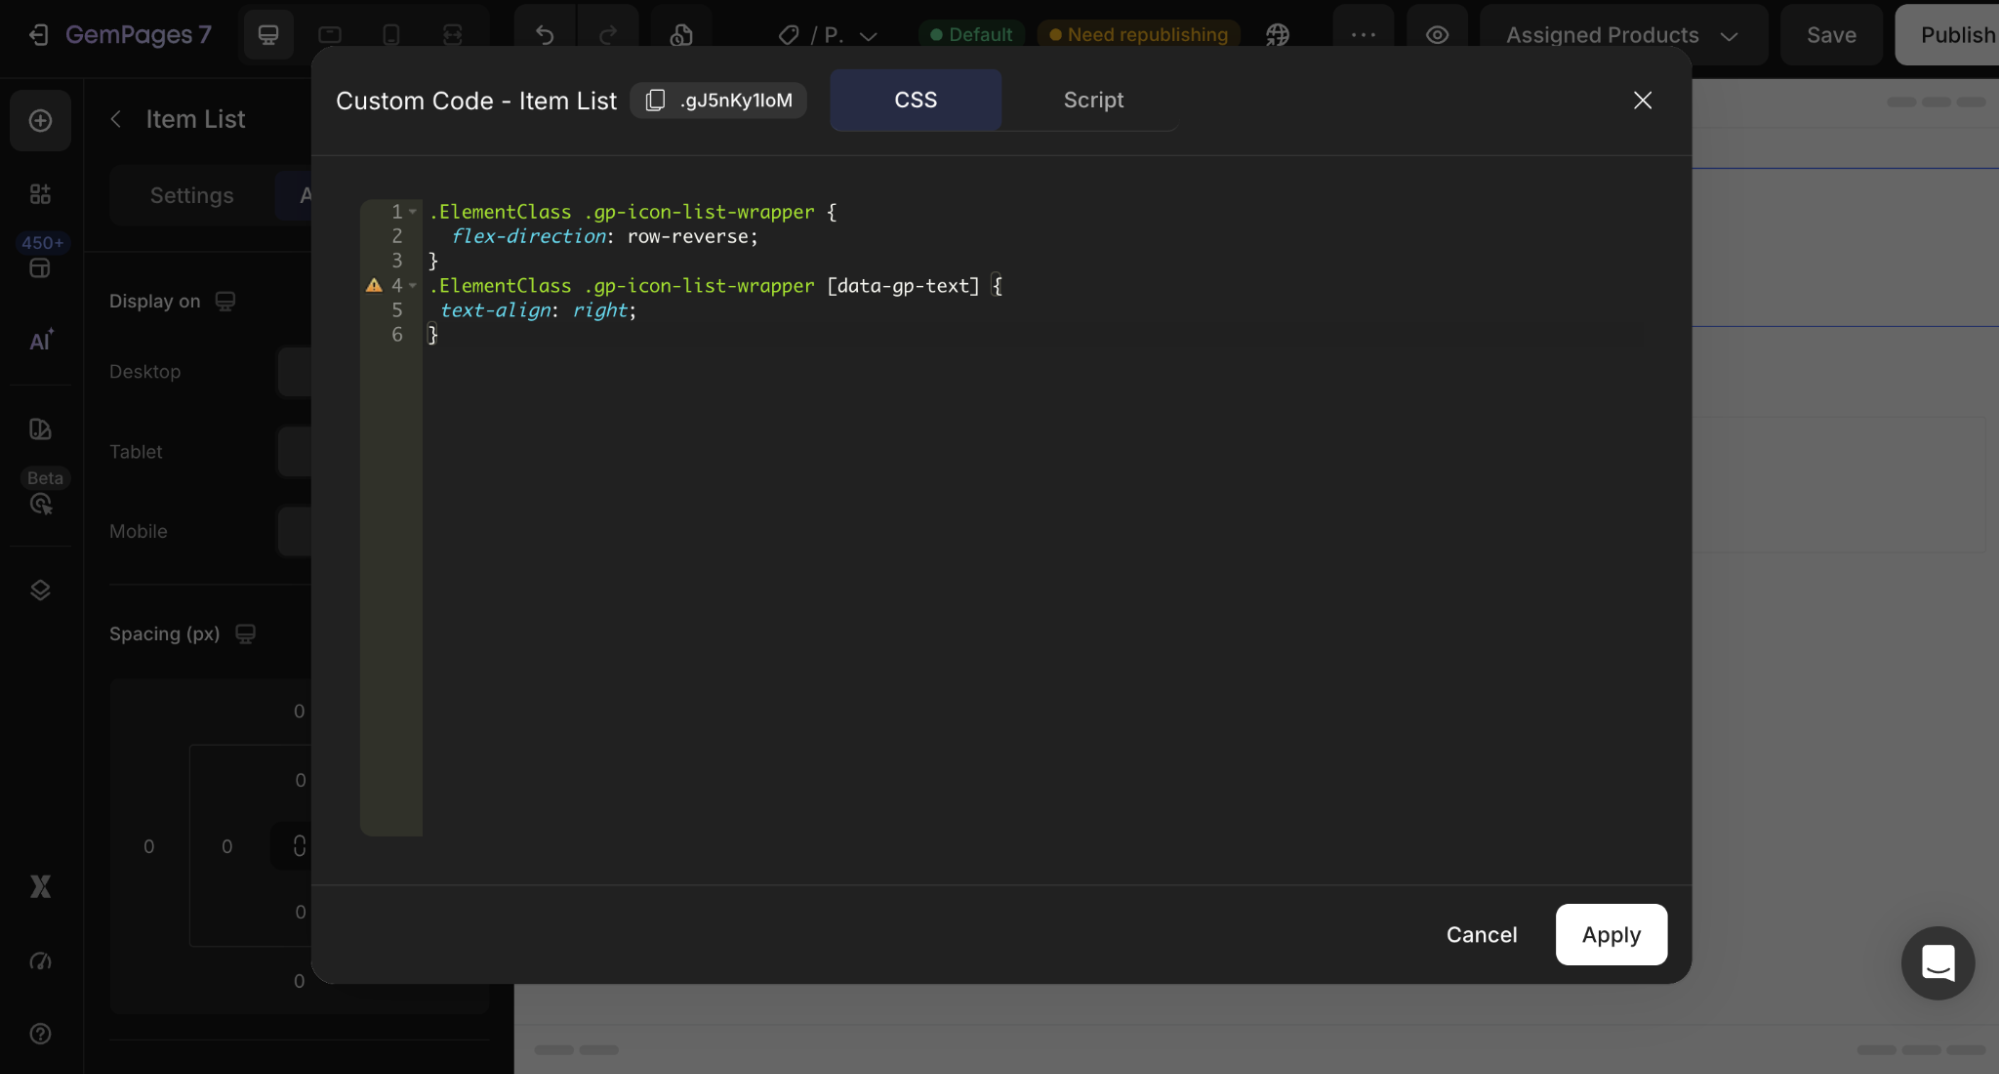
Step 3: Replace the Element Class
Replace .ElementClass with the actual class ID of your Item List element.
Tips:
- Use this layout for Arabic, Hebrew, or RTL-inspired designs
- Combine it with custom spacing or icon styling for better visual balance
- Preview the layout on both desktop and mobile devices after applying the code
Step 4: Save & Publish
Once finished:
- Save your changes
- Publish or update your page


Thank you for your comments